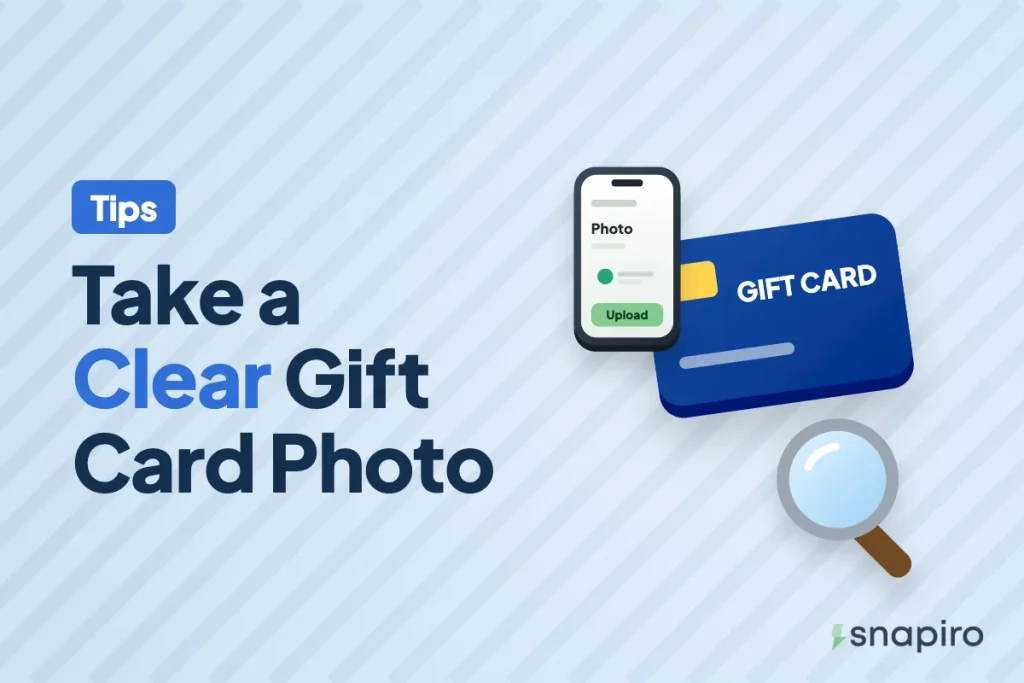
A good gift card photo shows the whole card, flat and in focus, with every character of the code readable and no glare across it. That one picture decides a lot about how your trade goes.
“Unreadable” is one of the common reasons a gift card trade is declined, and it’s the easiest one to avoid. A few seconds of care before you tap the shutter saves you a second upload and a longer wait.
These tips work for Google Play, Apple (iTunes) and Steam cards, and for any phone. You don’t need a fancy camera, just good light, a steady hand and a quick check before you upload.
Before you take the photo: scratch it properly
On a physical card the code sits under a silver scratch panel or a peel-off label. Use the edge of a coin or your fingernail and go slowly, in short strokes, until the whole code shows. Don’t use a key or a blade. Apple’s own instructions say to peel or gently scratch off the label, and “gently” is the word to remember for any brand.
Brush off the silver dust with a dry cloth or a soft brush. Don’t wipe with a wet finger; it smears the dust into the print and makes some characters harder to read.
If you scratched too hard and a character is damaged, still photograph it as clearly as you can and upload it. Don’t try to “fix” it with a pen. Write down what you think the character is under E-codes or notes instead.
Light: the thing that matters most
- Daylight is best. Stand near a window during the day, out of direct sun.
- Turn the flash off. Gift cards are shiny, and flash bounces straight back as a white patch over the code.
- At night, use a bright bulb and hold the phone at a slight angle so the light doesn’t reflect into the lens.
- Watch your shadow. Your hand and phone can throw a shadow right over the code. Move until the card is evenly lit.
If NEPA has taken light and you’re working with a torch, use another phone’s torch from the side, not from above. Light from the side shows the code without the glare.
Framing the shot
- Lay the card flat on a plain, dark surface like a table or a book cover. Busy cloth or patterned tiles make the edges hard to see.
- Hold the phone directly above the card, parallel to it, not tilted.
- Fill most of the screen with the card, but keep all four corners in the picture. A cropped card looks incomplete.
- Tap the code on your screen to focus on it, wait a second, then take the photo.
- Zoom in on the photo you just took. If you can’t read every character easily, take it again.
Avoid the phone’s digital zoom while shooting. Move the phone closer instead; zooming in the camera app makes the picture grainy.
What to photograph
| Card type | Upload |
|---|---|
| Physical card | The front, the back with the code showing, and the store receipt if you have one |
| E-code | A screenshot of the email, text or app screen showing the code and the amount, plus the code typed under E-codes or notes |
| Several cards | A separate clear photo of each card, not one blurry group shot |
The front shows the brand and often the value. The back shows the code and, on many cards, a serial number. The receipt helps the team confirm the card was bought and activated, so photograph it flat as well, with the store name, amount and date visible. Snapiro accepts JPEG, JPG and PNG files, and you can upload as many images as you need.
E-codes: screenshot, don’t photograph the screen
For an e-code, take a screenshot on the device that received it. A photo of a laptop screen taken with your phone is usually blurry and full of lines. If the code came to someone else, ask them to screenshot it and forward the email as well.
Then copy and paste the code into E-codes or notes rather than typing it by hand. Apple warns that characters like B and 8, O and 0, or S and 5 are easy to confuse, and the same is true on any card. An e-code without the code under E-codes or notes is declined as “missing code”. The e-code vs physical guide has the full checklist for each type.
Don’t edit the photo
Skip filters, beauty modes, stickers and heavy cropping. Anything that changes the card’s look makes it harder to check, and an edited image can raise doubts about whether the card is genuine. A plain photo straight from the camera is what you want.
One more thing: never post a card photo on your status, in a group chat or on social media, even as a joke. Anyone who can read the code can use it. Upload it only inside the app you’re selling to.
Uploading on Snapiro
In the app, tap Sell a gift card, choose the card, its Country and Card type, enter the Card value, upload your photos, add codes under E-codes or notes if it’s an e-code, then tap Submit card. Your trade shows as Pending under Activity › Gift cards while it’s checked. The Help Centre guide to selling a gift card goes through each field.
You can sell Google Play, Apple (iTunes) and Steam cards on Snapiro, and today’s rates for each country and type are on the gift cards page. For the full selling walk-through, read how to sell a Google Play gift card in Nigeria.
FAQs
My photo was blurry and the card was declined. Can I resubmit?
Yes, if the card hasn’t been used. Take a clearer photo and submit again with the correct details. What to do after a decline.
Can I upload a photo someone sent me on WhatsApp?
Yes, but WhatsApp compresses images. Ask the sender to send it as a document instead of a photo so the full quality comes through, and make sure the code is readable before you upload.
Does a clear photo change the rate?
No. The rate depends on the card, country and type. A clear photo just helps your card get checked without problems. See how Google Play rates are set.
Should I hide part of the code in the photo?
Not when you’re uploading to sell. The full code has to be visible to be checked. Just keep that photo private and don’t share it anywhere else.
Once the photo is sharp and all four corners show, upload the card in the Snapiro app.